The Ultimate Classic Car Restoration Guide – How to Restore & Sell
Restoring a car is a labor of love that requires patience, dedication, and a significant investment of time and money. But for many car enthusiasts, the rewards of bringing a classic car back to life are immeasurable. Whether you’re restoring a vintage car to its original glory or giving a modern car a new lease on life, the process can be a challenging but incredibly rewarding experience. In this post, we’ll outline the key steps to restoring a car, from selecting the right project to completing the final touches.
How to Restore A Classic Car?
Step 1: Choose the Right Project

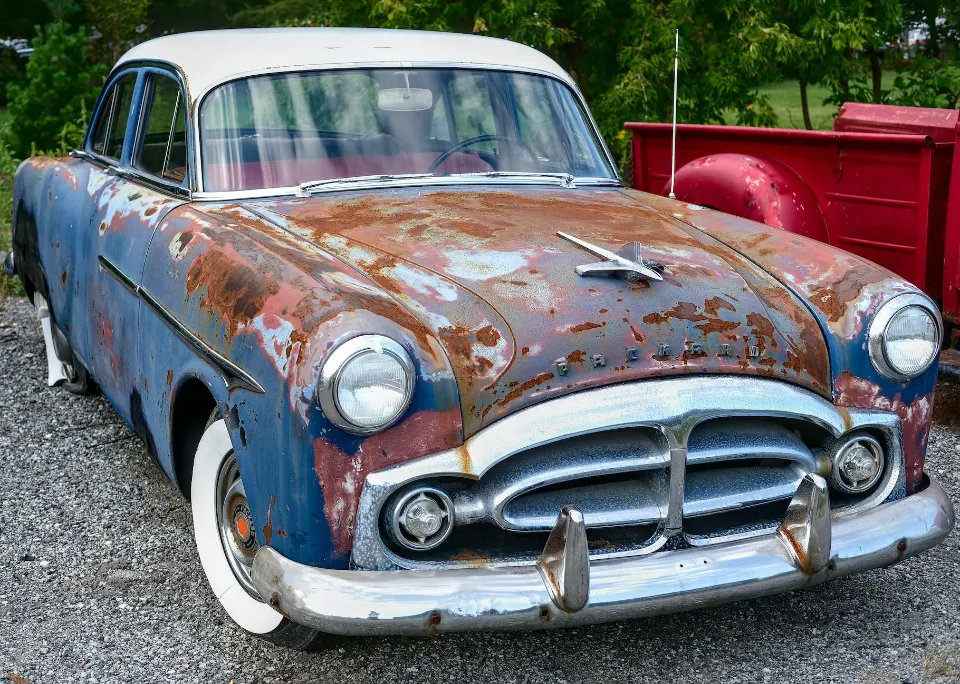
The first step in restoring a car is selecting the right project. When choosing a car to restore, you should consider several factors, including the availability of parts, the car’s overall condition, and the amount of work required to restore it. You should also consider your budget and the amount of time you’re willing to invest in the project.
Before making a purchase, research the car’s history and maintenance records, and inspect it thoroughly for rust, body damage, and other issues. If possible, take the car for a test drive to assess its performance and handling. It’s also a good idea to consult with a mechanic or restoration expert to help you evaluate the car’s potential and estimate the cost of the restoration.
Step 2: Plan Your Restoration
Once you’ve selected your project car, it’s time to plan your restoration. This involves outlining the scope of the project, setting a budget, and creating a timeline for completion. You should also consider the level of restoration you want to achieve, whether you’re aiming for a show-quality finish or simply want to get the car running and driving reliably.
At this stage, you should also start sourcing parts and equipment for the restoration. This can involve searching for original parts, or purchasing aftermarket parts if originals are unavailable or too expensive. You should also invest in the right tools and equipment for the job, such as body hammers, sanders, and paint sprayers.
Step 3: Strip and Clean the Car
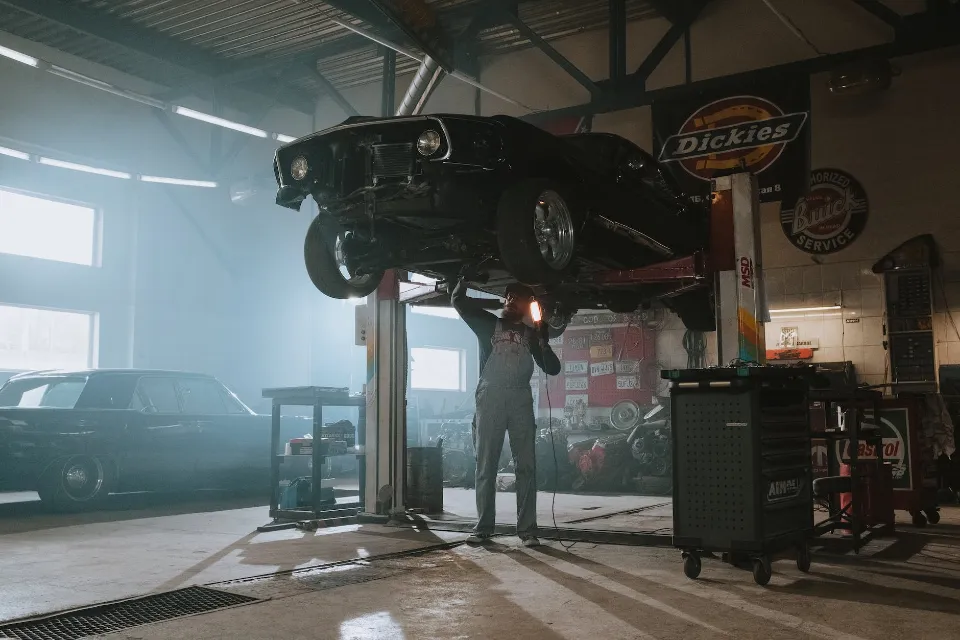
The next step in restoring a car is to strip it down to its bare bones and clean it thoroughly. This involves removing all interior and exterior components, including the engine, transmission, suspension, and brakes. You should also remove any rust and corrosion from the body and frame, and sand it down to prepare it for painting.
Cleaning the car is an essential step in the restoration process, as it allows you to assess the car’s condition and identify any underlying issues. This is also an opportunity to inspect and replace any worn or damaged parts, such as wiring, hoses, and belts.
Step 4: Repair and Replace Components
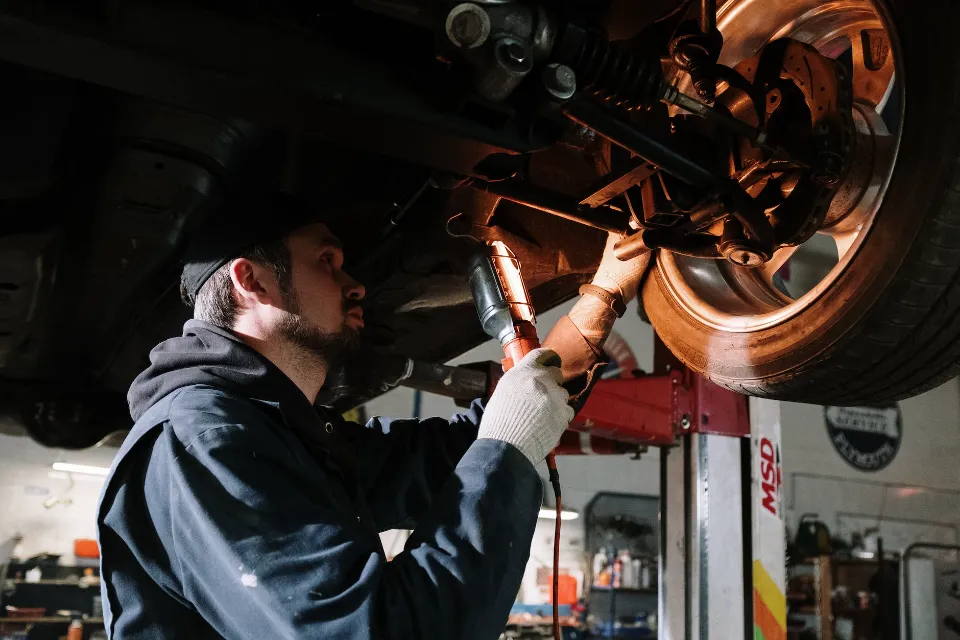
With the car stripped down and cleaned, it’s time to repair and replace any components that are damaged or worn. This can involve rebuilding the engine, transmission, and other mechanical components, or replacing them with new or refurbished parts. You should also repair or replace any damaged body panels, trim, or other exterior components.
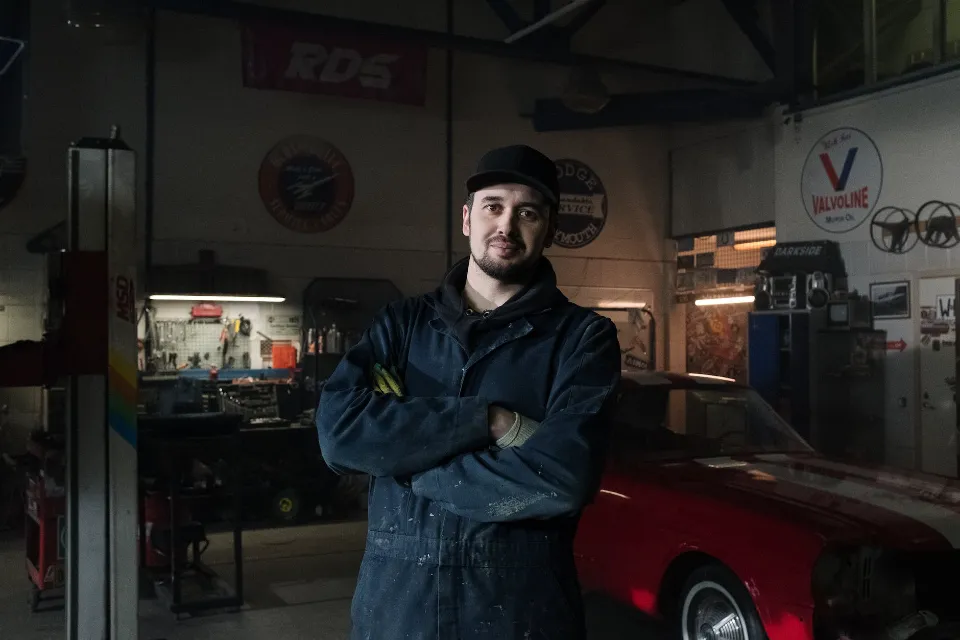
At this stage, it’s important to work with a knowledgeable mechanic or restoration expert to ensure that all repairs and replacements are done correctly. You should also keep track of all parts and components that are removed and replaced, and document any modifications or upgrades that are made to the car.
Step 5: Paint and Refinish the Car
Once all repairs and replacements are complete, it’s time to paint and refinish the car. This involves sanding and priming the body, and applying a base coat and clear coat to achieve a smooth, glossy finish. You should also refinish any interior components, such as seats, dashboard, and door panels.
Painting and refinishing the car is a complex and time-consuming process, and it’s important to take your time and follow the manufacturer’s instructions carefully. You should also invest in high-quality paint and materials to ensure a professional finish. Consider hiring a professional painter if you’re unsure of your painting skills, or if you want to achieve a show-quality finish.

Step 6: Reassemble and Test the Car
With the car painted and refinished, it’s time to reassemble all the components and test the car. This involves installing the engine, transmission, suspension, and brakes, and reconnecting all the wiring and hoses. You should also install any new or refurbished interior components, such as seats, carpet, and dashboard.
After reassembly, it’s important to thoroughly test the car to ensure that all components are functioning properly. This includes testing the brakes, steering, and suspension, as well as checking for leaks and other issues. It’s also a good idea to take the car for a test drive to assess its performance and handling.
Step 7: Complete Final Touches
With the car fully restored and tested, it’s time to complete the final touches. This can involve detailing the car to bring out its shine and luster, installing new or refurbished emblems and trim, and adding any final touches to the interior. You should also consider taking the car to a professional detailer to give it a final polish and shine.
At this stage, it’s important to document the restoration process, including before and after photos, receipts for parts and materials, and a detailed history of the car’s restoration. This can be helpful if you decide to sell the car in the future, or if you want to enter it in car shows or other competitions.
Conclusion

In conclusion, restoring a car is a challenging but incredibly rewarding experience. It requires a significant investment of time, money, and effort, but the end result is a beautiful and functional piece of automotive history. By following these key steps, you can bring a classic or modern car back to life, and enjoy the satisfaction of a job well done.


Average Rating